Garlic cloves fermenting in raw honey for one week. It’s a month long process but worth the wait! This is going to be good!
http://www.tlcinthekitchen.com/honey-fermented-garlic-cloves
Garlic cloves fermenting in raw honey for one week. It’s a month long process but worth the wait! This is going to be good!
http://www.tlcinthekitchen.com/honey-fermented-garlic-cloves

It’s going to be a comfort food kind of weekend! When we bought our first Instant Pot we found it hard to believe you could pressure cook a meatloaf without it being a soggy mess. We created this recipe and it comes out perfectly every time! There’s a little tip included in the recipe so that your meatloaf cooks evenly, too!

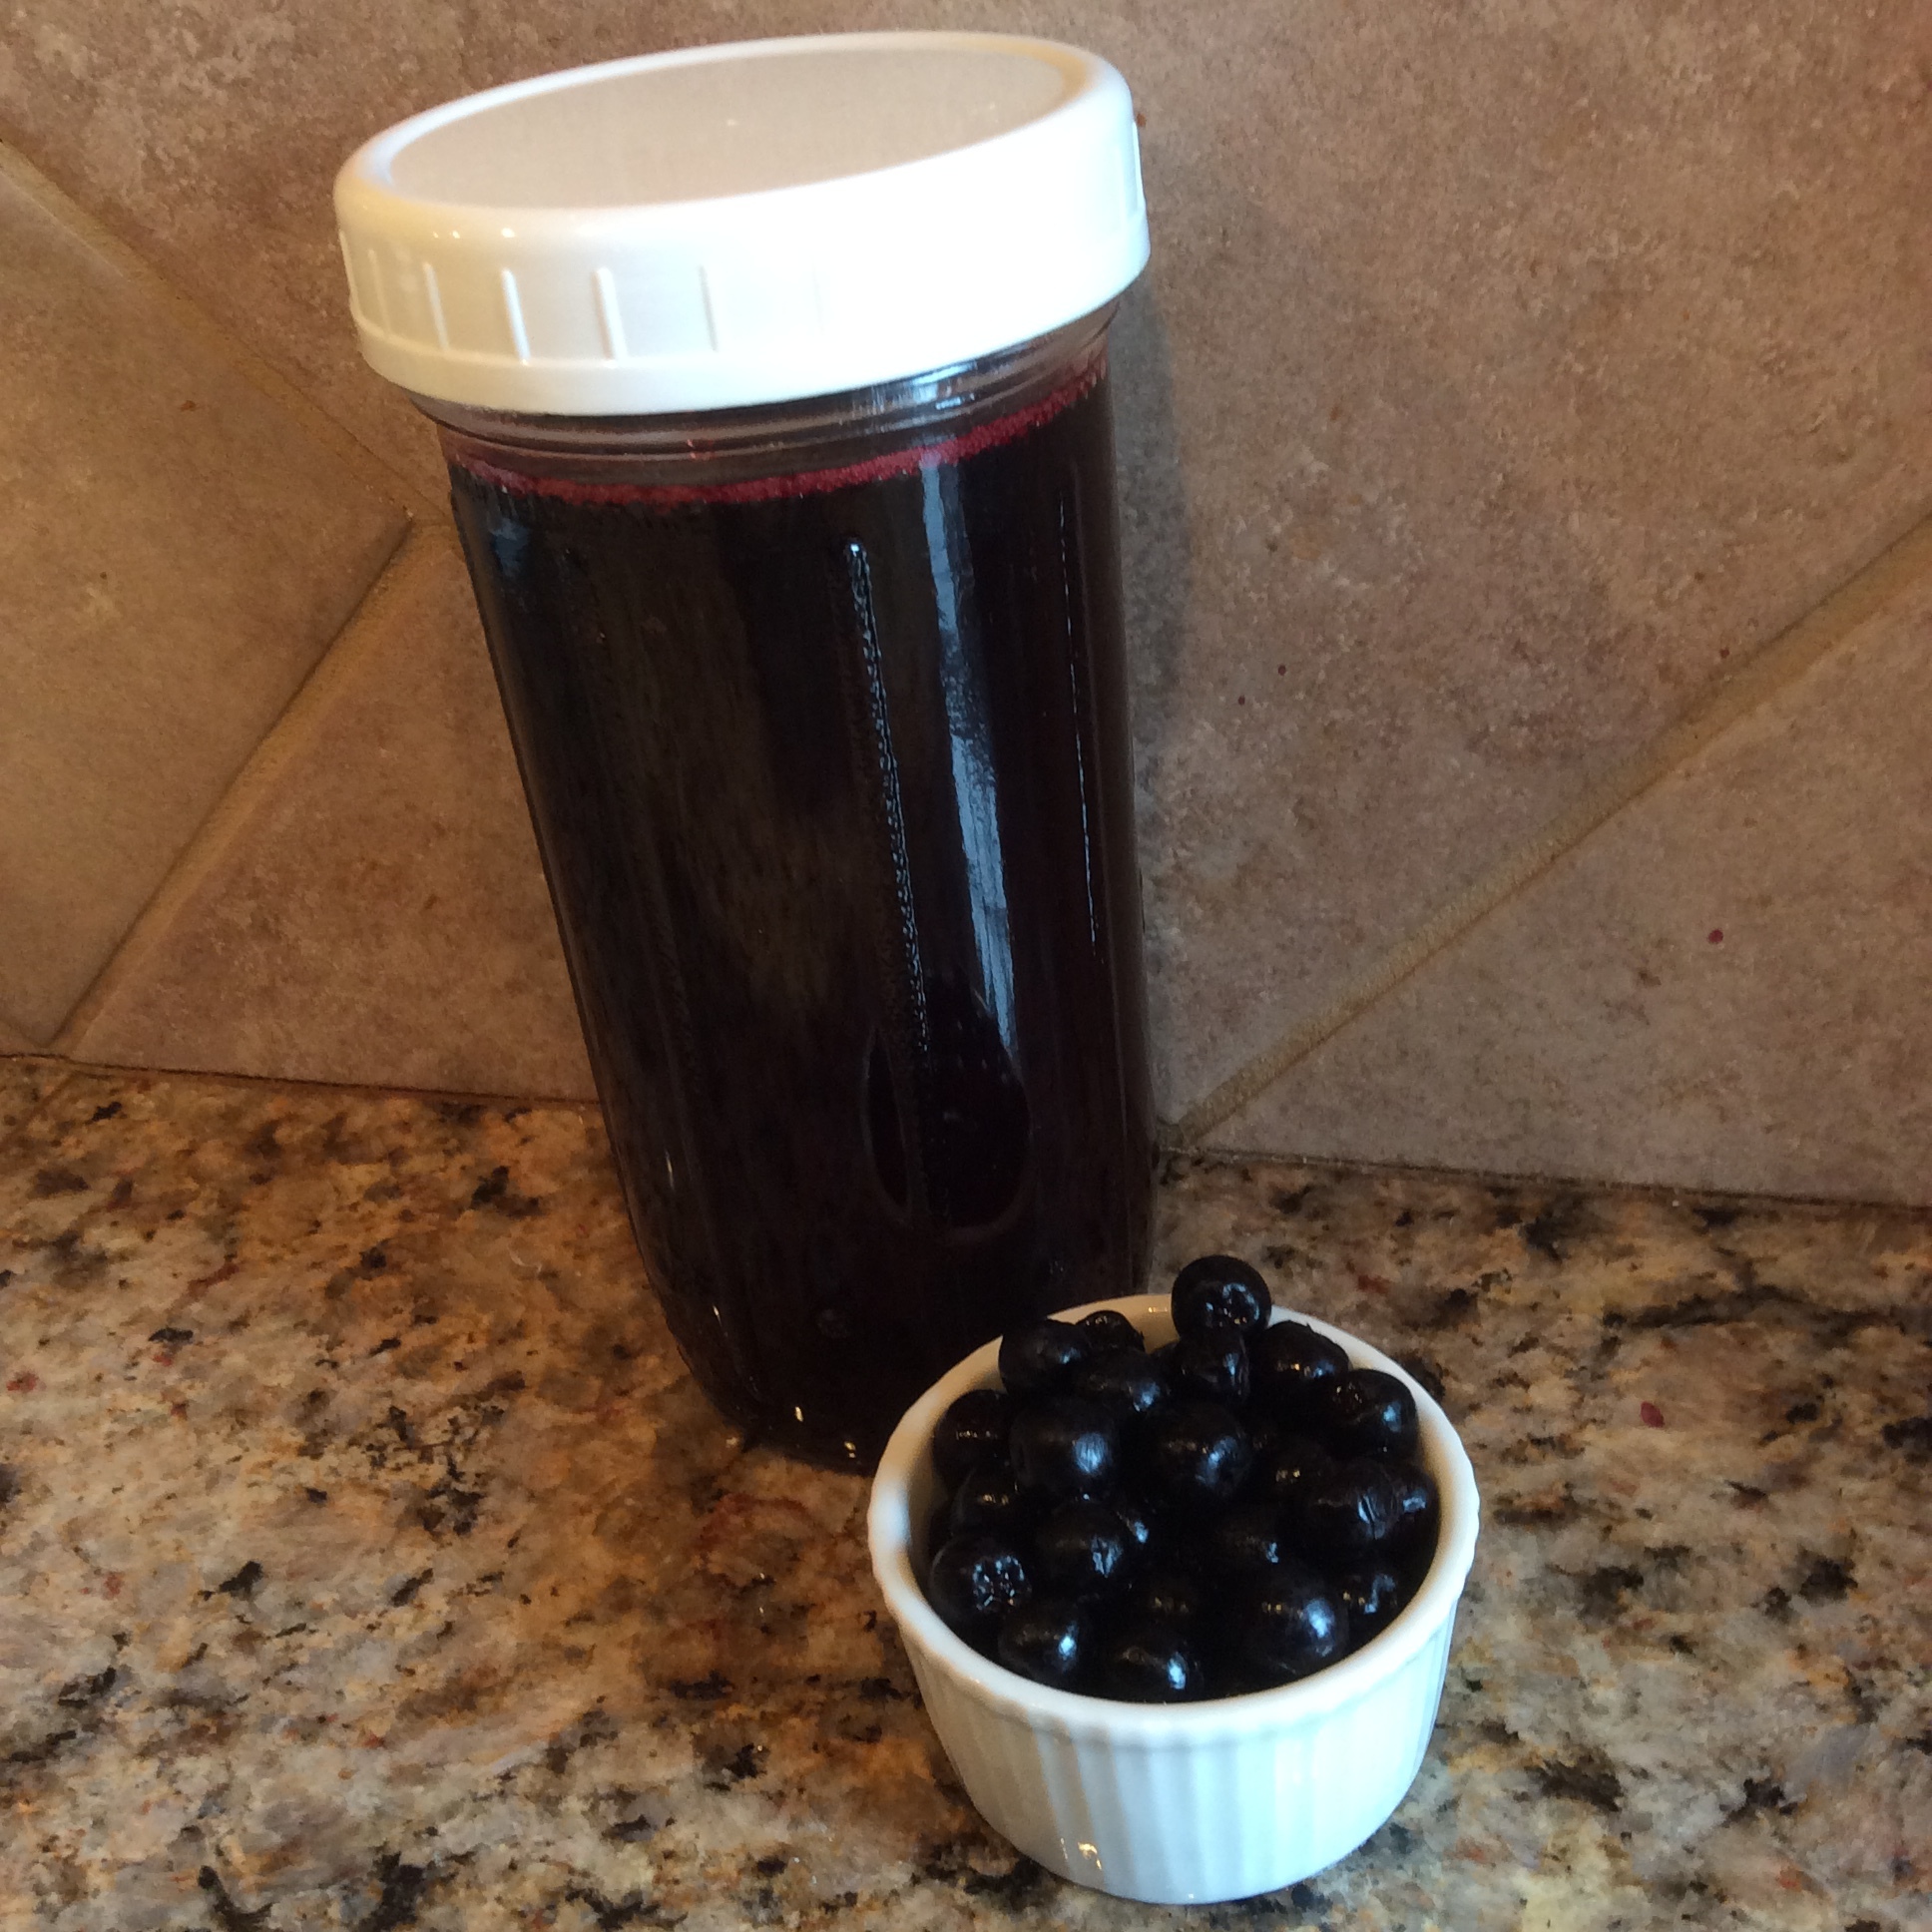
Aronia Berries are higher in antioxidants than many other berries. There is scientific research which indicates that they can lessen the effects of a cold and certain strains of the flu. This Aronia Berry Syrup is a great tool to have in our arsenal of homeopathic remedies when there are so many illnesses in our midst!
Aronia Berry Syrup
3 cups filtered water
1 cup fresh or frozen Aronia Berries
1/4 to 1/2 cup raw honey to taste
Combine water and Aronia Berries in a saucepan and simmer for about 30 minutes on the stove while crushing the berries with the back of a spoon. Strain the mixture through cheesecloth to filter the juice. Cool juice completely. Whisk in raw honey. Store in refrigerator.
Juice must be cooled before combining it with the raw honey in order to preserve the healing properties of the honey.
Locally raised Aronia Berries are available at the Roots To Wings store located in Arlington, NE.

Quality time spent in the kitchen with dear friends. Great conversation, lots of hugs and memories made. The fringe benefit is the healthy, fermented foods we created for our families! Yes...my honey garlic jars appear to be a bit overfilled but no worries! I used some crystallized raw honey and it may take a day or two for it to liquify to reach the proper level in the jar.

We harvested our pineapple today. It’s most likely the world’s smallest as it fits in the palm of my hand. We started it from the top of a grocery store pineapple three years ago. It’s tender, sweet and a delightful treat on this January winter’s day!

With flu season in full swing, there was a subject we discussed at yesterday’s class that wasn’t pressure cooking related at all! There was a lot of interest in the fermented foods we consume to boost our gut health and immunity. We will get our June fermenting class scheduled soon. In the meantime, here’s the link to the recipe to get you started!
http://www.tlcinthekitchen.com/honey-fermented-garlic-cloves

Another reason to love my Instant Pot! Ken is making repeated trips out to check the greenhouse in the storm. I wanted something nourishing for him when he needed to warm up and dry off. I put 2 quarts of tomato juice in the IP together with salt, pepper, garlic powder, chili powder and a bay leaf. Added half a diced onion, 3 or 4 handfuls of pasta shells and some diced celery. Manual/high pressure for 6 minutes with a controlled quick release. Stirred in some diced bacon and black beans that I had pre-cooked. I left the pot on it’s ‘keep warm’ cycle. Now as long as we have power (and we pray it stays on) he has a bowl of hot soup waiting for him. Stay safe and warm everyone!

Our neighbor is now taking orders for her family farm raised chickens and turkeys. Chickens are $10.00 and they are AMAZING! So are her turkeys! Pm me for her contact information if interested!

We had a fantastic class today! Thanks to everyone who attended! Bet there are going to be some busy Instant Pots tonight!

Prepping for tomorrow’s Pressure Cooking class at HyVee! Looking forward to a fun class!

Ciabatta bread is a fermented bread...just like Sourdough. Many people who find themselves to be gluten intolerant discover that they can still enjoy this type of bread because the bacteria created during the fermentation process pre-digests many of the things that our bodies have a difficult time processing. We serve Ciabatta at our fermenting classes. It’s a favorite and one of our most requested recipes! Credit to my dear friend, Nancy for the original recipe.
http://www.tlcinthekitchen.com/ciabatta-bread/

Brrrr! It’s cold outside! Our Instant Pot Chili uses ingredients harvested from the garden and is guaranteed to warm you up on a day like today!
http://www.tlcinthekitchen.com/sues-from-the-garden-instant-pot-chili/

Sunday morning breakfast! Soft-Boiled, fresh farm eggs cooked perfectly in the Instant Pot and served with homemade Ciabatta bread!
Instant Pot Soft Boiled Eggs
Place 1 cup of water in Instant Pot liner. Place room temperature eggs onto trivet or into steamer basket. Put lid on Instant Pot and program for manual/high pressure for two minutes. Immediately perform a quick release. Place eggs into a bowl of cold water until cooled just enough to handle. Peel and serve immediately while still warm.
Ciabatta bread recipe coming this week!

A warm welcome to all of you who are visiting our website and blog for the first time! Watch our blog and ‘TLC In The Kitchen’ Facebook Page for the new recipes we’re posting, growing and preserving information! We’re glad you’re here! We hope you enjoy the new website and find it to be a valuable resource!
Romaine lettuce is suspected to be the source of an E. coli outbreak and should not be consumed at the moment.
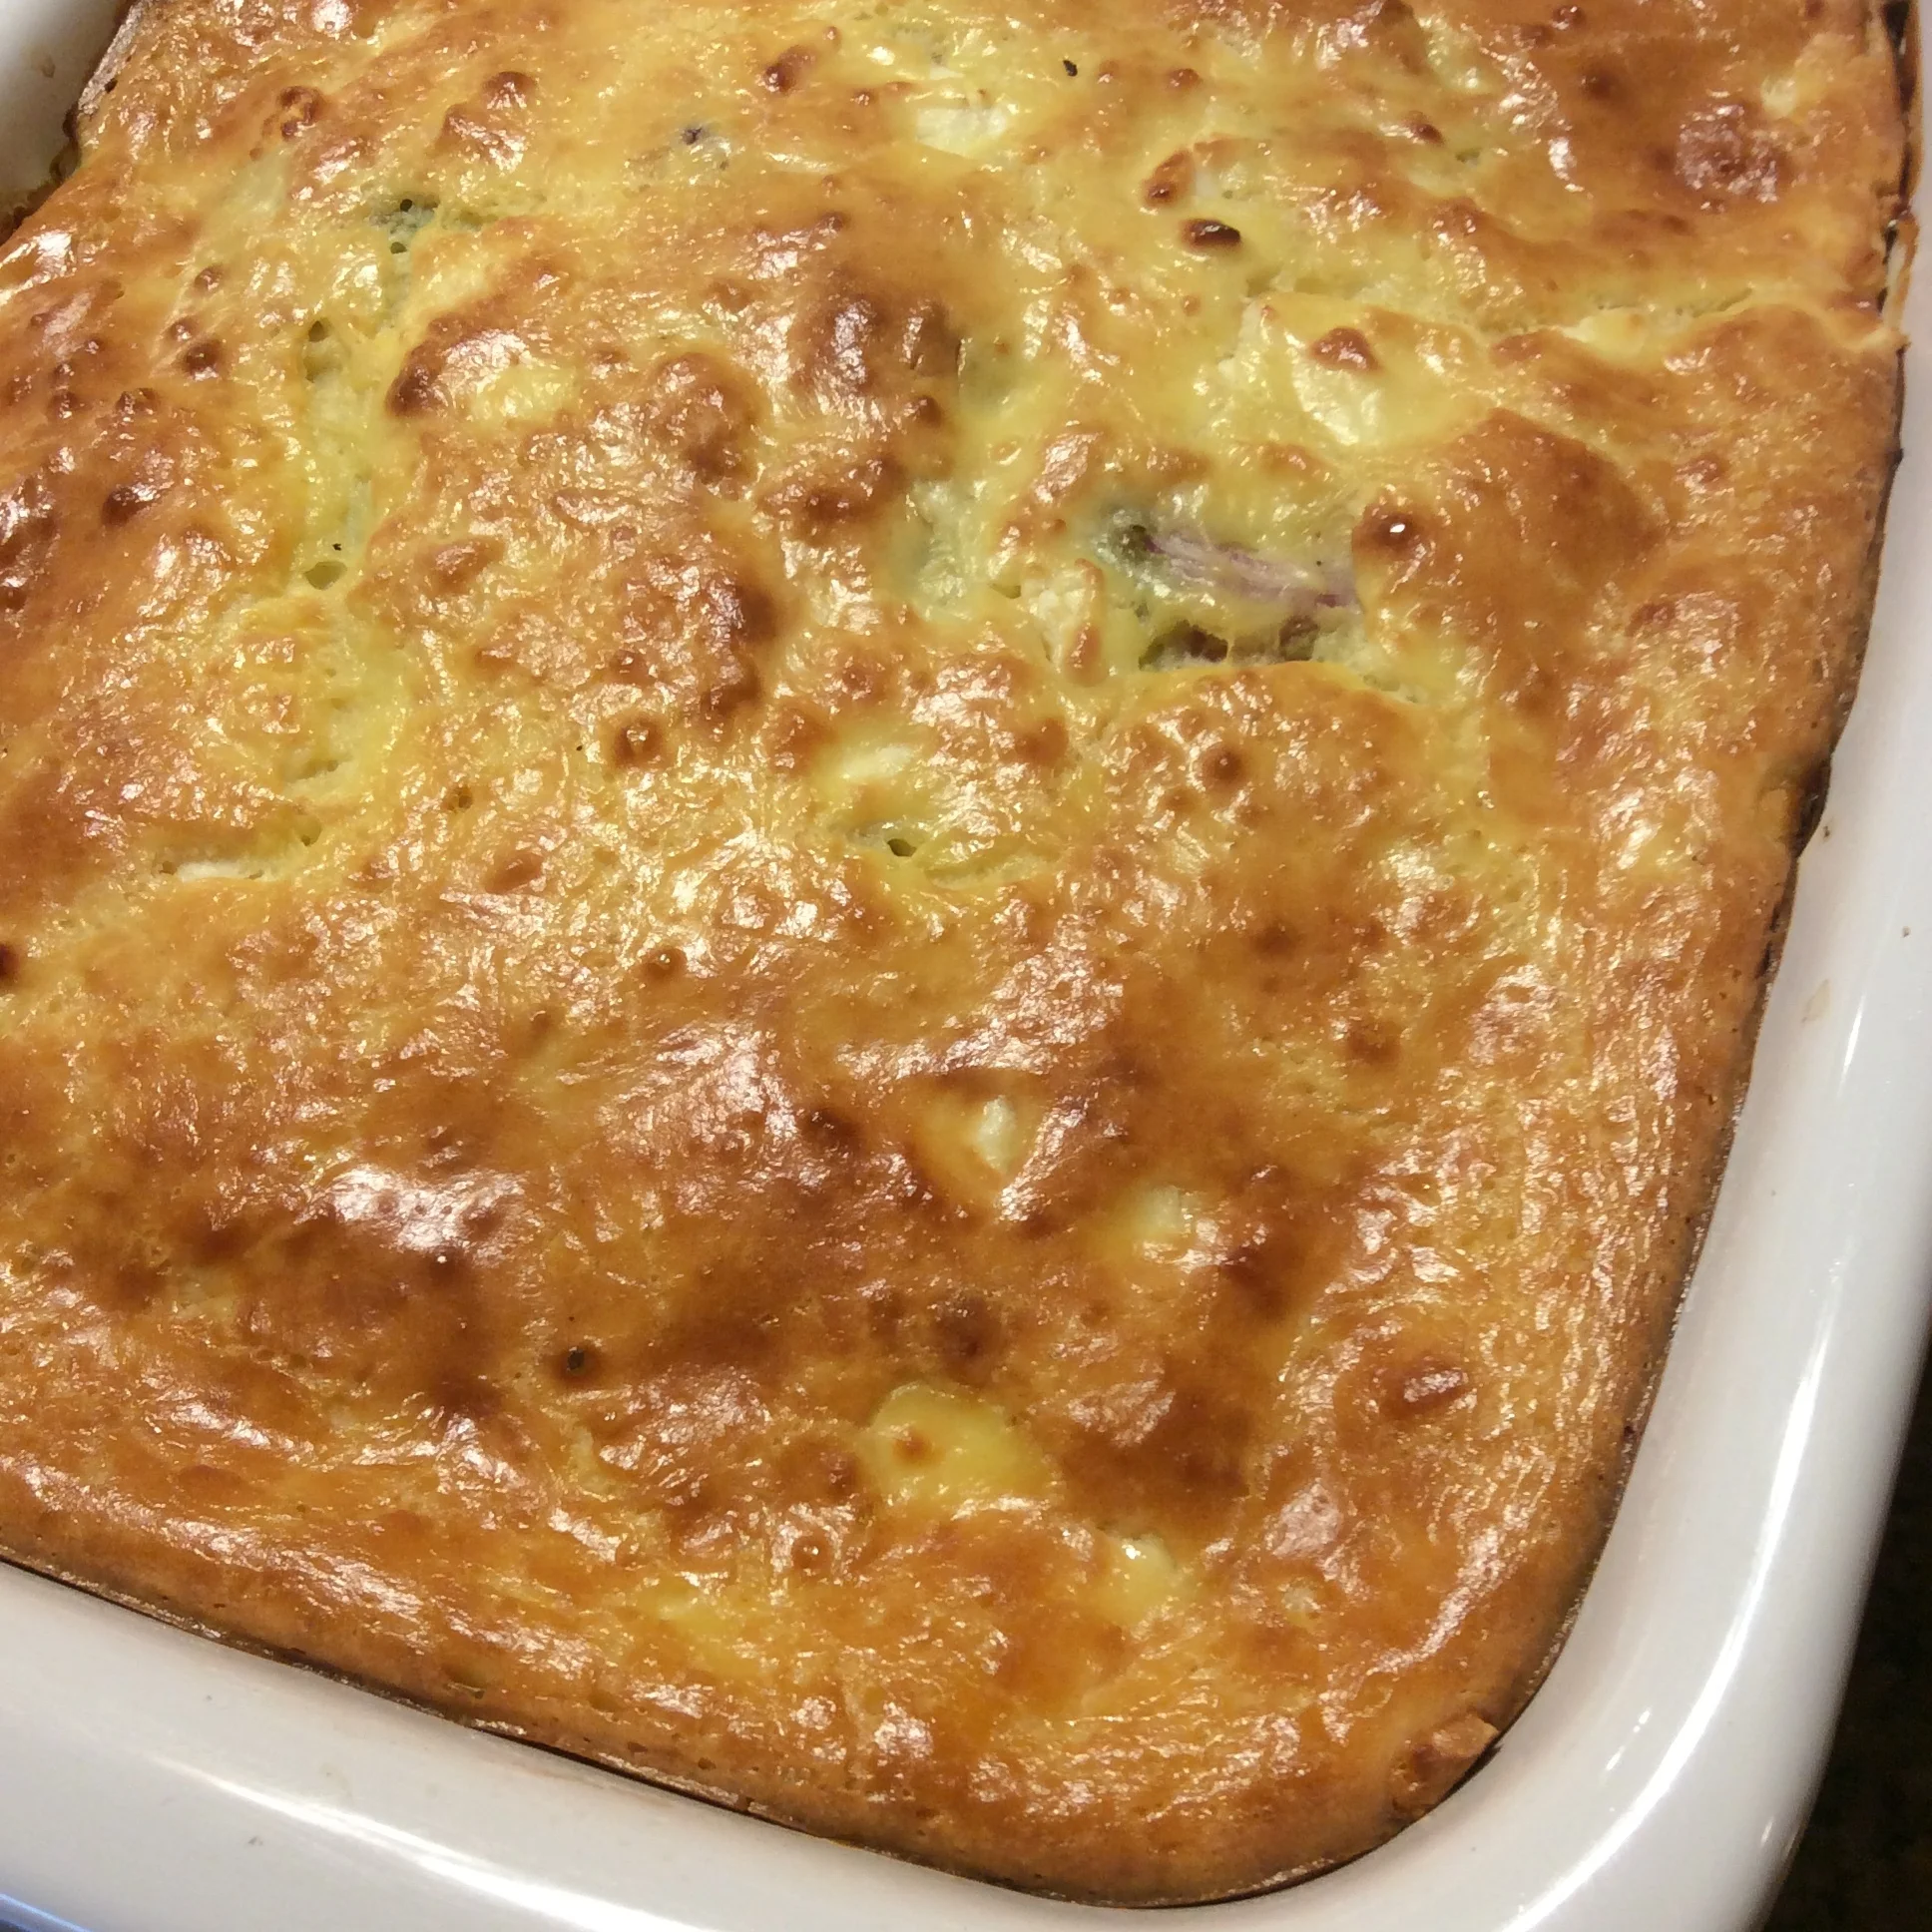
With so many gorgeous heads of ‘KK Cross’ cabbage harvested from our garden this year it was time to add some new recipes to our collection! Warning! This cabbage pie recipe is rich and decadent! The medium head of cabbage (there was nothing ‘medium’ about ours) translates to about 8 cups of shredded cabbage. Not being a fan of mayo or sour cream...I substituted both for whole milk homemade yogurt with incredible results. If you are a cabbage lover this is definitely worth the occasional splurge.
https://food52.com/recipes/10231-delicious-cabbage-pie

These pumpkin muffins were a huge hit at our Thanksgiving table! The Instant Pot works great for cooking fresh pumpkin for recipes. Cut in pieces to fit in a steamer basket or on the trivet. Remove the stem and seeds. Add a cup of water to the liner and program on manual for 13 minutes. Do a quick release and allow to cool a bit before removing the pulp.
https://sallysbakingaddiction.com/2016/09/30/pumpkin-crumb-cake-muffins/

When a certain little boy makes a point of telling you how delicious your Thanksgiving rolls were...you know they’re going to happen again at Christmas! This recipe makes great dinner rolls or buns for sandwiches. I bake them in a 9 X 13 baking dish lined with greased parchment paper because they do tend to stick.
https://sallysbakingaddiction.com/2017/08/11/easy-pretzel-rolls/

I have Spring Fermenting Fever! I miss those beautiful jars of freshly harvested veggies from our garden bubbling away on the counter. I am eagerly planning and anticipating this year's harvest but I need a fermenting fix NOW! The cure for my Fermenting Fever? Our local Hy Vee had asparagus on sale for $1.48 per pound!
Last year I received the most delicious refrigerator pickle recipe (containing vinegar). I've had great success converting picking recipes into ferments...but there was something different about the flavor of this particular recipe. I finally figured it out! It uses dried onion instead of fresh! I used diced, dehydrated onions from our garden. This flavor combination would work well for asparagus, cucumbers, carrots, green beans or cauliflower. I hope you enjoy it as much as we do!
For each quart jar of fermented veggies:
1/4 teaspoon dried dill weed
1/4 teaspoon dried dill seed
1/4 teaspoon mustard seed
2 tablespoons dried diced or minced onion
1 tablespoon minced garlic
1 Bay leaf
Brine Ratio:
1 tablespoon sea salt dissolved into 1 cup water
For those of you just beginning your journey into fermentation...please visit our previous post 'Lacto Fermenting 101' and we will walk you through the easy and affordable process!
Happy Fermenting!

After reading numerous studies regarding the high levels of glyphosate in Cheerios, we began searching for a healthier alternative to use as a treat for our Goldendoodle, Riley. This recipe is a winner and she loves them! No...I don't cut them into cute little 'O's and she doesn't mind at all! This recipe makes a huge batch of treats that I store in the freezer except for the small bowl we leave on the counter...because you know she is always a good girl so we have to have some handy! I divide the dough between two standard-sized cookie sheets to make the rolling easier.